

How to setup GROK on the system


OpenGrok is a source code search and cross-reference engine. It helps programmers to search, cross-reference, and navigate source code trees.
We can do the setup of the same on our system. All you need is a code and utility.
Download applicable utility from Grok Utility
Steps :
- Extract Utility downloaded from Grok Utility
- Have a code (or a git branch checked out) that you want to be indexed and shown in grok.
- Start utility with commands listed below.
- Once tomcat is up, it will print the local URL(localhost:8080/grok) on the terminal which can be used to access grok locally.
Setup :
- Below command are getting executed where grokit.exe is located and the code repository is listed under C:\grok
- All repository directories under C:\grok will be separate entities on grok. Eg: Let us say C:\grok directory has 3 subdirectories: projectA , projectB , projectC .
- All 3 folders will be separately shown as Projects under grok.
- You can rename the directory to whatever you want it to show on grok.
Commands: (For Windows system)
// To create indexes, we need to run the setup action. This command will create new index on the branch and start the local tomcat.
grokit.exe --ppath=C:\grok --action=setup

// To use last created index and just start tomcat, use start command
grokit.exe --ppath=C:\grok --action=start

// to stop tomcat
grokit.exe --ppath=C:\grok --action=stop
Note: You can find equivalent files for linux/mac in the respective binaries of Grok Utility
When you want to recreate indexes, you need to delete folders present under grokit_files\projects
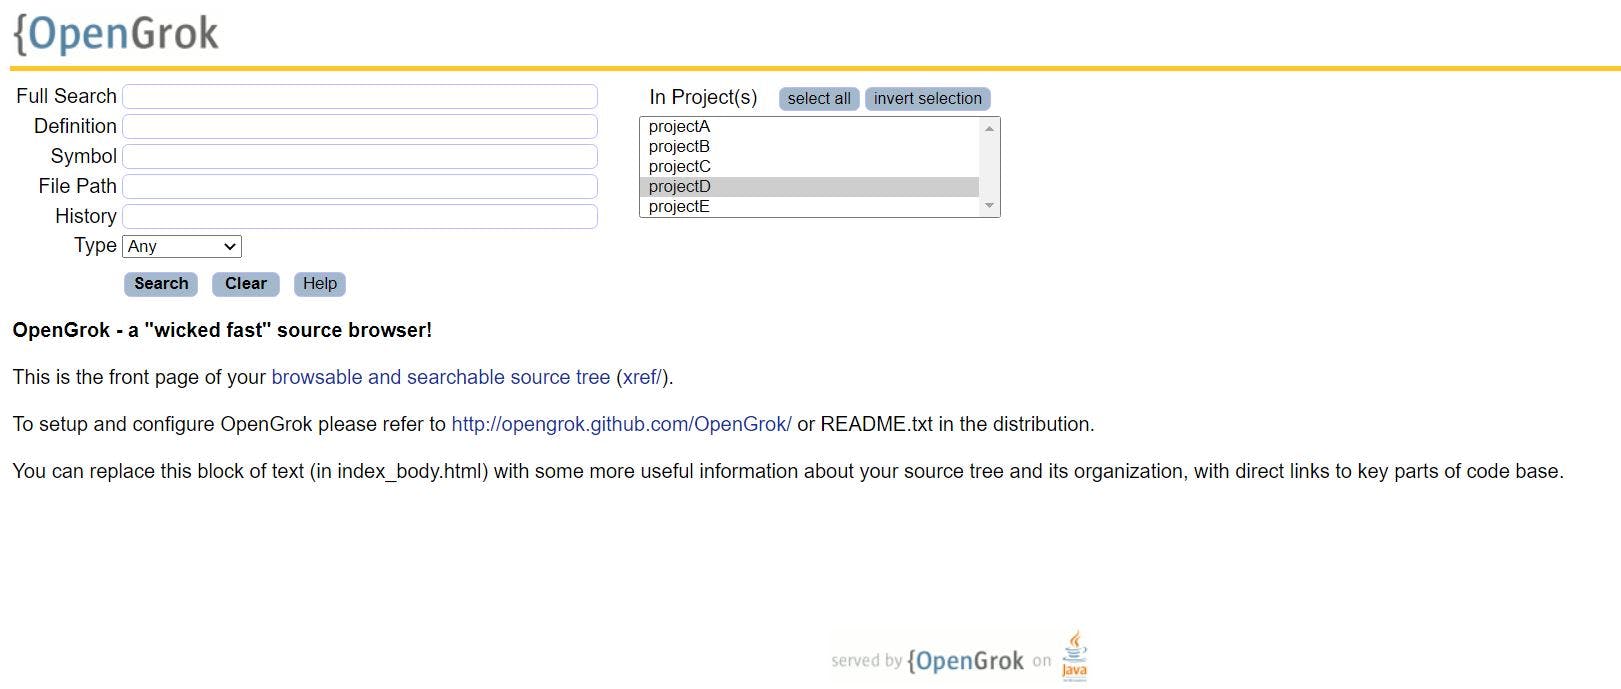
Once it is up, it will look like :
Having Grok available locally makes work highly productive. This can be applied to any source code.
If you want to share a single lookup for all team members, you can host it on VM and have a job that periodically updates the latest code and recreates indexes.
Happy Grokking!